

A quick weave is one of the fastest ways to completely change your look. No hours-long braiding session or needle and thread, just a prepared foundation, a few rows of wefts, and a style ready the same day. It suits anyone who wants a new cut, color, or texture without a long chair commitment.
This guide covers what a quick weave is, the main types, popular styles from bobs to long waves, and how to choose hair. It also walks through installation, care, and safe removal.
What Is a Quick Weave?
A quick weave is a hair extension method where wefts of hair are bonded to a prepared foundation using bonding adhesive. The foundation is usually a protective cap worn over your braided-down or flattened natural hair. Because the hair is glued to the cap rather than sewn onto braids, the installation is much faster than a traditional sew-in.
The cap matters. It acts as a barrier so the adhesive never touches your natural hair or scalp. In a sew-in, tracks are stitched onto cornrows and can stay in for weeks. A quick weave is a shorter-term style that you can cut and shape right after installation, which is why so many people use it to test a new look.
Types of Quick Weaves
Quick weaves vary mainly in how much of your natural hair shows and how the hairline is finished.
- Leave-out quick weave: A section of natural hair, usually at the top or front, is left out and blended with the extensions. It looks natural when the textures match, but the leave-out needs to be styled to blend.
- No-leave-out quick weave: All natural hair is covered by the cap and wefts, so there’s nothing to blend. This suits people who want a completely different texture or want to protect their natural hair from heat.
- Closure quick weave: A closure piece covers the top of the head and replaces the leave-out. It gives a realistic parting area with no natural hair exposed.
- Frontal quick weave: A lace frontal runs ear to ear along the hairline, allowing off-the-face styling and versatile parts. It takes more skill and time to blend.
- Full-cap quick weave: Wefts are applied across the entire cap with no leave-out or closure. It’s the simplest to install, but it needs careful cutting to look natural at the hairline.
Leave-out styles generally need the most blending, while closure and frontal versions need careful hairline work.
Popular Quick Weave Hairstyles to Try
Quick weave styles depend on three things: hair length, texture, and how the hair is cut. A blunt cut on straight hair looks sleek and sharp, while the same length in a loose wave looks relaxed. Because the hair is bonded rather than sewn, many stylists cut the style after installation to customize it to the face.
Quick Weave Bob Hairstyles
Bobs are among the most requested quick weave hairstyles because the short length keeps the style light and easy to wear.
- Blunt bob: A single-length cut at the chin or jaw. It works best with straight, thick hair and gives a polished, structured look.
- Asymmetrical bob: One side is cut longer than the other. It suits people who want an edgier shape, and the angle is usually cut after installation.
- Layered bob: Graduated layers add movement and soften the ends, a good choice if you want volume without much length.
- Side-part bob: A deep side part adds drama and can help conceal the parting area in leave-out styles.
- Curly bob: Bouncy curls add fullness and are forgiving, since the texture hides minor cutting imperfections.
Most bobs sit between 8 and 12 inches, and the final length depends on how much the cut removes. Ask your stylist to cut them in the shape you want after the wefts are in place.
Short and Pixie Quick Weave Styles
Pixie cuts, tapered looks, and short layered styles suit anyone who wants a bold, low-maintenance statement. These cuts need shorter wefts and more precise track placement, since there’s little length to hide the foundation. The sides and nape are usually cut close, with longer layers on top.
Because the result depends so much on the cut, this is where a professional stylist makes the biggest difference. If you’re doing it yourself, install the hair first and cut gradually, taking off less than you think you need.
Long and Straight Quick Weave Hairstyles
Long, straight looks are classic: a sleek middle part, a deep side part, or long layers with a bit of face-framing. Straight hair bundles give the smoothest finish because there’s no texture to compete with the cut. Straight styles also show every flaw, so clean track placement and a neat hairline are important. Brazilian straight hair bundles are one example of straight human hair available in a range of lengths, and they hold sleek styles well.
Curly and Wavy Quick Weave Hairstyles
Loose curls, deep curls, natural waves, and body wave styles all work well. The curl pattern, hair density, and length all shape the result. A tight curl shrinks up and looks shorter than it measures, while a loose wave hangs longer and looks fuller at the ends. No texture suits everyone, so match it to your face shape, lifestyle, and how much styling you want to do each morning.
Half-Up, Half-Down Quick Weave Styles
Half-up styles are practical because they hide the tracks at the crown. Try a half-up ponytail or a mix of straight and wavy hair. Track placement affects how this looks: if rows are too high or too thick, they show when the hair is pulled up. Plan your tracks around how you want to wear the style.
What Hair Is Best for a Quick Weave?
The two options are human hair and synthetic hair, and the best choice depends on how you want to style and maintain it.
Human hair can be heat-styled, colored, and cut like natural hair. It looks more natural and is more reusable if you remove it carefully. Synthetic hair is cheaper and holds its style, but it has less styling flexibility and is generally harder to blend or reuse.
Weft construction also matters. A well-made weft sheds less and lies flatter against the cap, so the finished style looks neater. This educational guide on weft hair types explains the different constructions and what each is used for. Choose a texture you can maintain: straight is easy to style but shows cutting mistakes, while curly and wavy textures need more moisture and detangling care.
How Many Bundles Do You Need for a Quick Weave?
Many quick weaves use two to three bundles, especially for bobs and shoulder-length styles. Longer or fuller hairstyles may need more, since longer hair often needs extra wefts to look dense. Hair length, desired fullness, and head size all affect the count. For more detailed guidance, see how many bundles you need for a full head.
What Do You Need for a Quick Weave?
The essentials:
- Hair wefts
- A protective cap
- Bonding adhesive suited to track application
- A comb for parting and smoothing
- Clips to section hair
- Scissors for trimming wefts and shaping the cut
Optional finishing items include a styling tool and a heat protectant. Use the adhesive made for bonding tracks. Lace adhesives are formulated differently and shouldn’t be swapped in.
How to Do a Quick Weave Step by Step
Preparation and technique matter as much as the finished hairstyle. Gather your supplies, section your hair, and work calmly. If you’re new to this, weaves for self-installation can make a DIY install easier.
Step 1 – Prepare Your Natural Hair
Wash, condition, and detangle your hair, then dry it completely. Trapped moisture under the cap can cause problems later. Flatten your hair with braids or another suitable method to create an even foundation. Keep the braids or flattening comfortable, because tight installation can cause tension and discomfort.
Step 2 – Apply a Protective Cap
Position the cap so it covers all your natural hair, then secure it at the edges. Make sure the adhesive stays on the cap and never touches your natural hair or scalp, as direct contact can cause irritation and make removal difficult.
Step 3 – Measure and Attach Hair Wefts
Measure each weft around the head and cut it to the right length. Work from the nape upward, applying a thin line of adhesive along the cap and pressing the weft into place. Follow the product’s directions for drying time. Keep rows evenly spaced, because crowded or uneven tracks can look bulky.
Step 4 – Blend and Style the Hair
Cover visible tracks with the next row, then cut and shape. If you have a leave-out, blend it with the extensions using a similar texture or a flat iron. Use a heat protectant before heat styling compatible hair. Take your time with the final cut, since it shapes the whole look.
How Long Does It Take to Do a Quick Weave?
Most quick weaves take about one to two hours, depending on your hair prep, the installation method, the stylist’s experience, and how complex the style is. A simple full-cap bob goes faster than a frontal style that needs blending. DIY installations often take longer because you’re working slowly and learning as you go.
How Long Does a Quick Weave Last?
A quick weave typically lasts two to four weeks. How long yours lasts depends on scalp condition, how well the adhesive holds, how fast your natural hair grows, and how you maintain it. Leaving it in too long can cause matting, buildup, and trapped moisture, and can make removal harder.
How to Maintain a Quick Weave
Good care keeps a quick weave looking fresh for its full wear period.
- Detangle gently: Use a wide-tooth comb or soft brush, starting at the ends.
- Protect at night: Wear a satin bonnet or scarf to reduce friction. A satin hair bonnet comes as part of a multi-item care kit, not as an individual bonnet listing.
- Limit heat: Use heat sparingly and always with a heat protectant on compatible hair.
- Keep your scalp clean: Use a diluted shampoo along the parting area.
- Dry thoroughly: Moisture trapped under the cap can irritate your scalp.
How to Remove a Quick Weave Safely
Use a bonding-adhesive remover and follow the product instructions. Loosen the adhesive gently, working section by section. Don’t pull, cut your natural hair, or use excessive force. If removal is difficult or painful, ask a professional to help rather than forcing it. Wash and deeply condition your hair afterward.
Quick Weave vs Sew-In: What’s the Difference?
| Feature | Quick Weave | Sew-In |
| Installation method | Wefts bonded to a cap with adhesive | Wefts sewn onto braids |
| Time | About 1-2 hours | Often longer |
| Typical longevity | 2-4 weeks | Often longer with proper care |
| Maintenance | Careful washing and drying; avoid moisture buildup | Regular scalp care and braid maintenance |
| Cost considerations | Often lower upfront | Often higher due to time and labor |
| Possible hair damage | Adhesive sensitivity and improper removal | Tension from tight braids |
Neither method is universally better. Quick weaves suit short-term changes, while sew-ins suit longer wear.
Pros and Cons of Quick Weaves
Pros:
- Quick installation
- Versatile styles, from bobs to long waves
- Relatively short-term styling commitment
Cons:
- Adhesive may irritate sensitive scalps
- Improper removal can stress natural hair
- Shorter wear than some sew-in installations
How to Choose the Right Quick Weave Style
Start with length. A bob is easy to manage, while longer styles need more hair and more care. Think about texture: straight looks sleek but shows cutting errors; curly styles add fullness but need more moisture. Consider fullness and daily upkeep too. A hair extension length chart can help you see how different lengths appear on your body. Then pick a style that fits your routine, not just the inspiration photo.
Frequently Asked Questions About Quick Weaves
Can you do a quick weave on short hair?
Yes. Flatten short hair neatly under a protective cap to create an even foundation.
Does a quick weave damage your natural hair?
It can through adhesive contact, tension, or rough removal. Proper prep and careful removal reduce risk.
Can you wash your hair with a quick weave?
Yes, gently. Wash carefully and dry thoroughly to avoid trapped moisture under the cap.
How many bundles do you need for a quick weave?
Usually two to three, depending on length and desired fullness. Longer styles may need more.
Can you reuse hair from a quick weave?
Good-quality human hair wefts may be reused if removed carefully and kept in good condition.
Is a quick weave better than a sew-in?
Neither is universally better. Quick weaves are faster; sew-ins usually last longer.
Can you do a quick weave without leave-out?
Yes. Closure and full-cap options cover all natural hair.
How much does a quick weave cost?
Cost depends on hair quality, length, stylist experience, and location. Prices vary widely.
Can you do a quick weave at home?
Yes, with practice. Follow adhesive instructions and keep adhesive off your scalp and natural hair.
Is a quick weave a protective hairstyle?
It can be, if installed without tension, kept clean, and removed on time.
Find the Right Hair for Your Next Quick Weave
The best quick weave starts with hair that suits your style: the right texture, a length you’ll enjoy wearing, and quality that holds up through the wear period. Whether you’re planning a sleek bob, soft waves, or a long straight look, choose your hair first and build the style around it. When you’re ready to start, explore hair extensions to find your match.
Share this Article
Facebook
LinkedIn
WhatsApp
Email
Print
Latest Posts



Find the perfect hair for your next look?
Explore a curated selection of premium extensions and wigs from trusted vendors on NiCa Collection.
Read Related Blog

Best Hairstyles for Every Face Shape
October 25, 2026
Choosing a hairstyle for your face shape comes down to balance. Every haircut adds lines, volume, and shape around the face, and those details can make certain features stand out
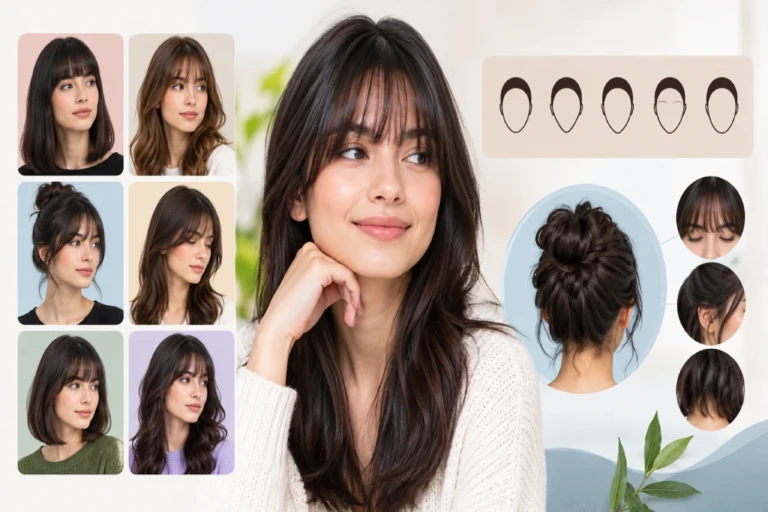
Bangs Hair: Types, Hairstyles and Face Shape Guide
October 16, 2026
Bangs hair is a section of hair at the front of the head that is cut shorter than the rest, so it falls over the forehead. In the UK and
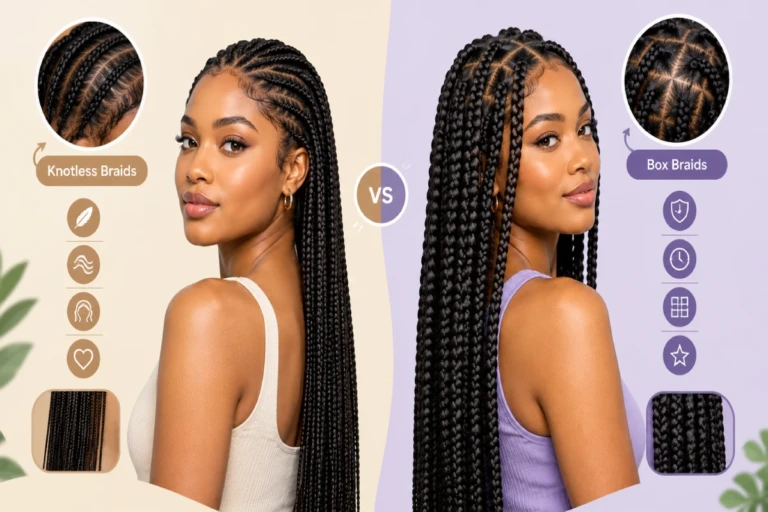
Knotless vs Box Braids: Difference, Lasting Time, Comfort and Style
October 13, 2026
The main difference between knotless vs box braids comes down to how each style starts at the root. Box braids start with a small knot that secures the extension hair