
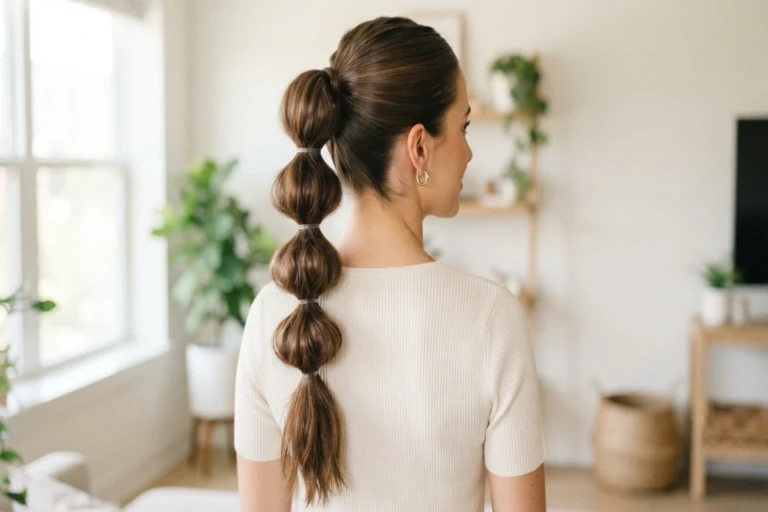
A bubble ponytail looks like it takes skill, but it is one of the easiest styles you can do at home. Nothing is braided. Nothing is twisted. You gather your hair into a ponytail, add a few small elastics down the length, and gently open up each section so it puffs into a rounded shape.
That is the whole technique. If you can tie a ponytail, you can do a bubble pony in about five minutes. This guide covers the steps, the spacing that keeps the sections even, and the fixes for when a bubble goes flat.
What is a Bubble Ponytail?
A bubble ponytail is a regular ponytail split into rounded sections by evenly spaced hair ties. Each section between two elastics is loosened outward so it swells into a soft ball shape. Line up five or six of those, and you get the segmented look people recognise as the bubble ponytail hairstyle.
It is often called a bubble braid ponytail, which causes some confusion. In a real braid, you weave three or more strands over and under each other. Here, the hair stays in one bundle the entire time. The elastics do all the shaping work, so the finished style has the rhythm of a braid without any of the coordination a braid demands.
That is why it suits beginners. There is no pattern to memorise and no strand to lose track of. If a section goes wrong, slide the elastic off, smooth the hair with your fingers, and try again.
What You Need to Create a Bubble Ponytail
Keep everything within reach before you start, because once your hands are in your hair, you will not want to go hunting for a hair tie.
- A brush or wide-tooth comb to remove tangles
- One strong elastic for the base of the ponytail
- Five to ten small elastics for the sections, clear or matched to your hair colour
- A tail comb for a sleek parting, optional
- Texture spray or dry shampoo if your hair is very smooth and slippery
- Light hairspray or smoothing cream to control flyaways
- Bobby pins to tuck away any stray pieces, optional
- Hair extensions if you want more length or thickness, optional
How to Do a Bubble Pony Step by Step
Six steps, start to finish. Read through once, then work the first time slowly. Speed comes on the second or third attempt.
Step 1: Prep and Smooth Your Hair
Brush from the ends upward to remove knots without tugging. Day-old hair works better than freshly washed hair because it has more grip, so the elastics will not slip.
Decide on your finish now. For a sleek look, run a smoothing cream through the lengths and brush everything flat. For a fuller, more textured look, spray dry shampoo or texture spray at the mid-lengths and scrunch lightly. Textured hair holds rounder bubbles, so this choice matters more than it sounds.
Step 2: Create Your Ponytail
Gather your hair and tie it with your strongest elastic. Placement changes the whole mood of the bubble pony:
- High, level with the crown, for a lifted and sporty look
- Mid height, around the back of the head, for everyday balance
- Low, at the nape, for something softer and more polished
Make the base secure but not painful. A base that is too tight will ache within an hour and pull at your hairline. Check that the ponytail does not slide when you tilt your head forward.
Step 3: Add the First Elastic
Measure roughly two to three inches down from the base and tie your first small elastic there. Two finger widths is an easy way to judge it without a mirror.
Consistent spacing is the single thing that separates a neat bubble ponytail from a messy one. Uneven gaps create bubbles of different sizes, and the eye picks that up immediately. Use the same two-finger gap every time and the sections will match without any measuring.
Wrap each elastic one turn more than feels necessary. Loose elastics slide down as the bubbles expand, and that is what causes sagging later in the day.
Step 4: Create the First Bubble
Hold the section between the base and the first elastic. Using your thumb and forefinger, pull the hair outward in small tugs, working around the whole section rather than just the front.
Pull from the top, then both sides, then underneath. This is what makes the bubble round instead of flat and wide. Work in small amounts, because you can always add more volume, but you cannot put hair back once it has been loosened too far.
Hold the elastic steady with your other hand while you pull so it does not travel down the ponytail.
Step 5: Repeat Down the Ponytail
Add the next elastic two to three inches below the first, then puff that section out the same way. Continue to the ends.
Hair naturally thins towards the tips, so the lower bubbles will look smaller if you keep the spacing identical all the way down. Two options work well. Either shorten the gaps slightly as you move down, or simply accept the taper, which gives a natural cone shape many people prefer. What you should avoid is one bubble that is dramatically larger than its neighbours.
Stop about two inches from the ends and leave the tail loose.
Step 6: Shape and Finish the Bubbles
Now go back to the top and look at the whole ponytail together. Even out any section that looks smaller than the rest by pulling a little more hair from its sides. Rotate any elastic that has twisted so the join sits underneath and stays hidden.
Smooth flyaways with a clean mascara wand or a spritz of hairspray on your palms, then press your hands lightly over the surface. Do not spray directly onto the bubbles, because a heavy mist will flatten the volume you just built.
How to Get Even, Fuller Bubble Sections
Most bubble ponytail problems come from one of a few causes, and each has a quick fix.
| Problem | Likely Cause | Quick Fix |
| Bubbles look uneven | Elastics spaced by eye | Use a two-finger gap every time |
| One bubble looks flat | Hair pulled from only one side | Pull from top, both sides, and underneath |
| Elastics slide down | Hair too smooth or elastic too loose | Add texture spray and wrap one extra turn |
| Lower bubbles look thin | Hair naturally tapers at the ends | Make the last two sections shorter |
| Scalp feels sore | Base ponytail is too tight | Loosen the base and lower the placement |
| Bubbles collapse by midday | No grip or hold at the roots | Dry shampoo at the roots before styling |
Bubble Ponytail Ideas to Try
The method never changes. Placement and finish are what give you different bubble ponytail hairstyles.
High Bubble Ponytail
Tied level with the crown, this version lifts the face and moves well, which makes it a favourite for the gym, dance practice and long days out. It shows off the full length of the sections because nothing sits against your back. Longer hair benefits most here, since a high base adds visible length.
Low Bubble Ponytail
Tied at the nape with a centre or deep side parting. This is the quieter version, and it works for offices, weddings, and anywhere a high pony would feel too casual. Keep the bubbles slightly smaller and closer together for a more refined finish.
Sleek Bubble Ponytail
Smooth the roots with a brush and a little gel or smoothing cream, then build defined bubbles below. The contrast between the flat, polished top and the rounded sections is what makes this bubble pony hairstyle look expensive. It also photographs well, which is why it shows up so often at events.
Bubble Braids Ponytail
Many people search for bubble braids ponytail when they mean this exact style. The name stuck because the finished look has the same segmented rhythm as a braid, even though no weaving happens. If you want to compare it with something genuinely braided, knotless braid hairstyles sit at the other end of the effort scale and last far longer.
You can also split your hair into two sections and run bubbles down each side for a double bubble braid ponytail.
Can You Create a Bubble Ponytail With Hair Extensions?
Yes, and for some hair types it makes the style far easier to shape.
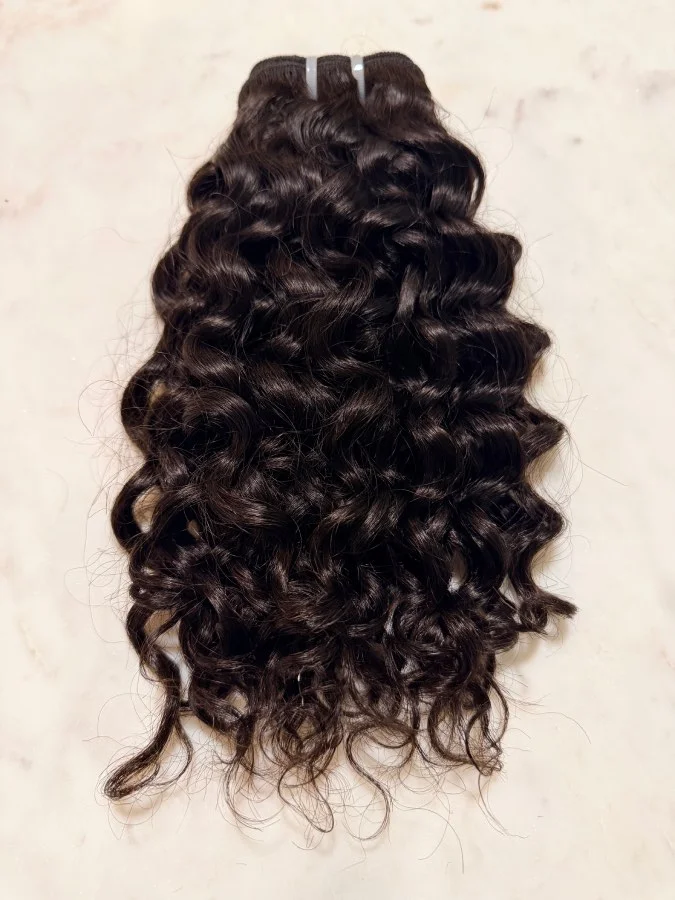
The bubble ponytail relies on having enough hair to fill each section. Fine or shoulder-length hair often gives you only two or three usable bubbles before the ponytail runs out. Clip-in or ponytail-style extensions solve both problems at once by adding length to divide and thickness to keep each section full.
Match the texture as well as the colour, because a smooth extension against wavy hair will show at the joins. Clip the wefts in before you tie the base so everything gathers as one bundle, and place the first elastic below where the clips sit so they stay covered. Pull the sections open gently, since extensions need less coaxing than natural hair to look full.
If you are shopping for a set, look for hair extensions that match your natural texture rather than the lightest or straightest option on the shelf.



Common Bubble Ponytail Mistakes to Avoid
- Uneven spacing – The most common mistake by far. Measure with your fingers every single time.
- Pulling too hard – Aggressive tugging loosens the elastic and can snap strands. Small, repeated tugs work better.
- Loose elastics – One extra wrap prevents most of the sagging that happens through the day.
- Pulling from one side only – This creates a flat, fan-shaped section instead of a round bubble.
- Over-styling – Too much hairspray weighs the sections down. Build the shape first, set it lightly afterwards.
- Starting on wet hair – Damp hair slips, dries into odd shapes, and holds no volume.
How to Make a Bubble Ponytail Last Longer
Start with grip. Dry shampoo at the roots and a light texture spray through the lengths give the elastics something to hold, which is the main reason styles loosen on clean hair.
Check the base elastic before you leave. Bubble ponytails fail from the top down, not the bottom up, so any give in the base means everything below will sag.
When the style softens during the day, resist the urge to tug at the ends. Slide each elastic back up towards the base by a few millimetres and fluff the section around it instead. Carry two spare elastics if you are out for the evening, since a snapped hair tie is the only failure you cannot fix with your fingers.
Frequently Asked Questions
How do you do a bubble ponytail?
Tie a ponytail, add small elastics every two to three inches, then gently pull each section outward until it looks round.
How do you do a bubble braid ponytail?
The same way. Divide the ponytail with elastics and puff each part open. No weaving or braiding is involved.
What is a bubble ponytail hairstyle?
A ponytail divided into rounded sections by evenly spaced elastics, creating a segmented, bubbled look without any actual braiding.
Is a bubble ponytail the same as a bubble braid?
Usually yes. Most people use both names for this segmented style, even though nothing is genuinely braided in it.
How many hair ties do you need for a bubble ponytail?
Around three for shoulder-length hair and six to ten for longer hair, plus one strong elastic for the base.
How do you make bubble ponytail bubbles bigger?
Space the elastics further apart and pull each section outward from the top, both sides, and underneath, a little at a time.
Can you do a bubble ponytail on short hair?
Yes. Shoulder-length hair usually manages two or three bubbles. Anything shorter suits a half-up bubble version instead.
Can you use hair extensions for a bubble ponytail?
Yes. Extra length and thickness give you more sections to work with and keep each bubble looking full to the ends.
How do you keep a bubble ponytail from falling flat?
Use grippy elastics, secure the base properly, and fluff the sections gently instead of pulling hard at the ends.
What are some easy bubble ponytail hairstyles?
High, low, sleek, and textured versions all use the same method. Only the ponytail placement and the finish change.
Making the Bubble Ponytail Your Own
A bubble ponytail is simple to create, but small changes in placement, spacing, and volume can completely change the finished look. Once you understand how to secure the sections and shape each bubble, you can adapt the style to suit casual days, work, parties, or more polished occasions.
For a sleek finish, keep the roots smooth and the bubbles evenly shaped. For a softer look, leave a few face-framing pieces loose and pull the bubbles slightly wider. If your hair needs extra length or fullness, extensions can also help create more defined sections.
The key is not to make every bubble identical. Focus on even spacing and a secure base, then adjust the shape to match the look you want. With a little practice, the bubble ponytail can become an easy hairstyle to recreate whenever you want something more interesting than a regular ponytail.



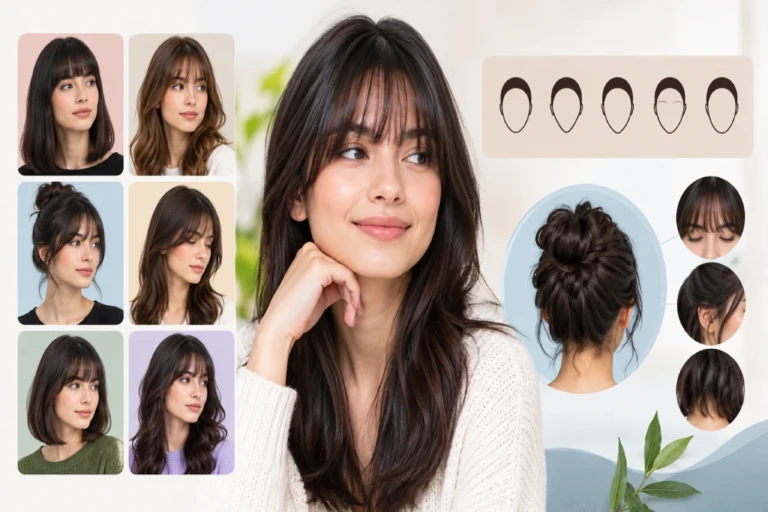
Bangs Hair: Types, Hairstyles and Face Shape Guide
Bangs hair is a section of hair at the front of the head that is cut shorter than the rest, so it falls over the forehead. In the UK and
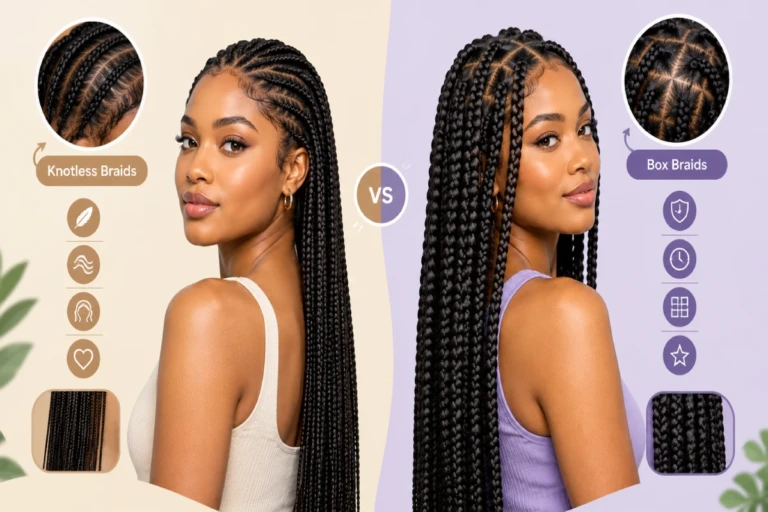
Knotless vs Box Braids: Difference, Lasting Time, Comfort and Style
The main difference between knotless vs box braids comes down to how each style starts at the root. Box braids start with a small knot that secures the extension hair

Difference Between 3C and 4A Hair: Types, Texture & Styles
If you’ve ever looked at a curl chart and felt like your hair belongs in two boxes at once, you’re in good company. 3C and 4A sit right next to